Automated Defect Detection (complete pipeline and demo)
Quality Check (QC) is an integral part of each manufacturing process. Every serious manufacturing team performs multiple quality checks both during and at the end of the production process. For example, medical sensor production can have the following quality checks in place:
- visual inspection at each step of the production (In Process Control or IPC)
- visual inspection of the final product
- In-use tests, i.e using the final product in a real-world environment to test accuracy, stability and detect possible defects
Problem with some quality checks (for example, in-use tests) is that they degrade the product quality, hence can’t be used extensively. On other hand, visual inspection doesn’t harm the inspected product and can be used abundantly. Therefore each produced product should, at least, be visually inspected.
We mainly inspect the followings visually in the production settings:
- product completeness (fill level, feature presence, assembly verification)
- correct location of parts (orientation, skew)
- product quality (part defects, surface inspection, contaminants)
Main problem with visual inspection is that, in a lot of cases, it is difficult to automate it. In other words, it requires substantial human labor to inspect the produced products visually. Hence visual inspection is not done elaborately in a lot of cases.
![Visual Inspection by human experts [Photo by Remy Gieling]](/images/automated_defect_detection/inspection_by_experts.jpg)
Automated Optical Inspection
The good news is that, recent advances in Artificial Intelligence (AI) made a lot of visual inspection tasks possible to automate. Now, AI models can even surpass human performance in some visual inspection problems. On top of that, they
- don’t get distracted
- don’t get tired and can work 24⁄7
- don’t get ill (flu, coronavirus, …)
Building Automated Optical Inspection (AOI) system can be divided into 6 parts:
- Installing cameras. It includes choosing correct camera and lens, having optimal lighting condition and good camera position.
- Taking and storing images. Challenges of this step are having a big enough storage to store all the images and performing regular backups.
- Annotating images. Image annotation is needed if the inspection is going to be done by an AI model, which will be developed using a supervised machine learning method.
- Training and deploying models. This step is usually the most difficult step in the AOI pipeline and should produce a model with high enough accuracy.
- Validating models. In case the model is developed to do a task, which is regulated by law, then the model needs to be validated. This requires creating a document about all the details of the AOI system and sending it to the responsible regulation office. You are allowed to use your automated visual inspection system after you get approval of regulators.
- Process control software. The last step is building a dashboard, which will be used by the process control team to check the inspection results. For example, the dashboard can include percentage of defect products by time, how many defects there are in each defect category, etc.

Defect detection in manufacturing (demo)
As an example, I will show you how defect detection system can be developed in a steel factory.
The first step will be installing a camera at the end of the production line. It can be an ordinary camera as long as it’s not too hot, dirty or humid near the camera. Otherwise you’ll need to have a solid box around the camera to protect it from dirt, humidity or accidental damage. Apart from that, you’ll also need to install lights and adjust them so that you have crisp pictures of each steel piece.
Let’s say you’ve installed a camera and taken some pictures. Now you should look at the images, create a catalogue of defects with clear descriptions and edge cases.

Next, you need to analyse the defect catalogue and think about how you can detect those defects automatically and reliably. You need to choose one of the following ways:
- Developing a rule based defect detection method yourself for each defect category. It involves writing software to extract information from the images using thresholding, morphological operations and other similar techniques. This method is recommended if the defects are relatively simple to detect. For example, if the defect is detectable solely by colour separation. If the defects come in different shapes and colours, developing software to detect each defect will probably produce an unaccurate and unstable result.
- Annotating images and letting an Artificial Intelligence model learn from it about how each defect looks like and how to detect it. Today AI and machine learning methods have enormous power. AI is capable of learning almost any defect structure and can attain accuracy on par or better than a human expert.
As we can see from the above pictures, defects of steel have different structure in every image. Hence, in this case, machine learning is our only choice. Machine learning requires a training set to train a model on. Therefore, the next step will be QC experts annotating as many images as possible. Bigger and more diverse the training set is, more things a model can learn from it. You can find many image annotation tools in the Internet. Visual Object Tagging Tool (VoTT) from Microsoft and VGG Image Annotator (VIA) from Oxford University are some of the free tools, which can help you annotate your images. Here you can find a nice explanation of how you can install and use VoTT below:
Train & deploy a machine learning model
Next, you need to train a machine learning model on your annotated images. Don’t worry, going and getting a PhD degree in computer science is not the only way to do it. There are already friendly machine learning frameworks like pytorch and tensorflow, which can ease your burden.
If writing code is not your strong point, there are also tools, which lets you train a machine learning (ML) model with a couple of clicks and with little knowledge about ML. These tools are called autoML tools. One of them is Intelec AI. I will use it as an example in this blog post. You can download and install Intelec AI for free from here. You can get acquainted with the tool by watching this and this demos.
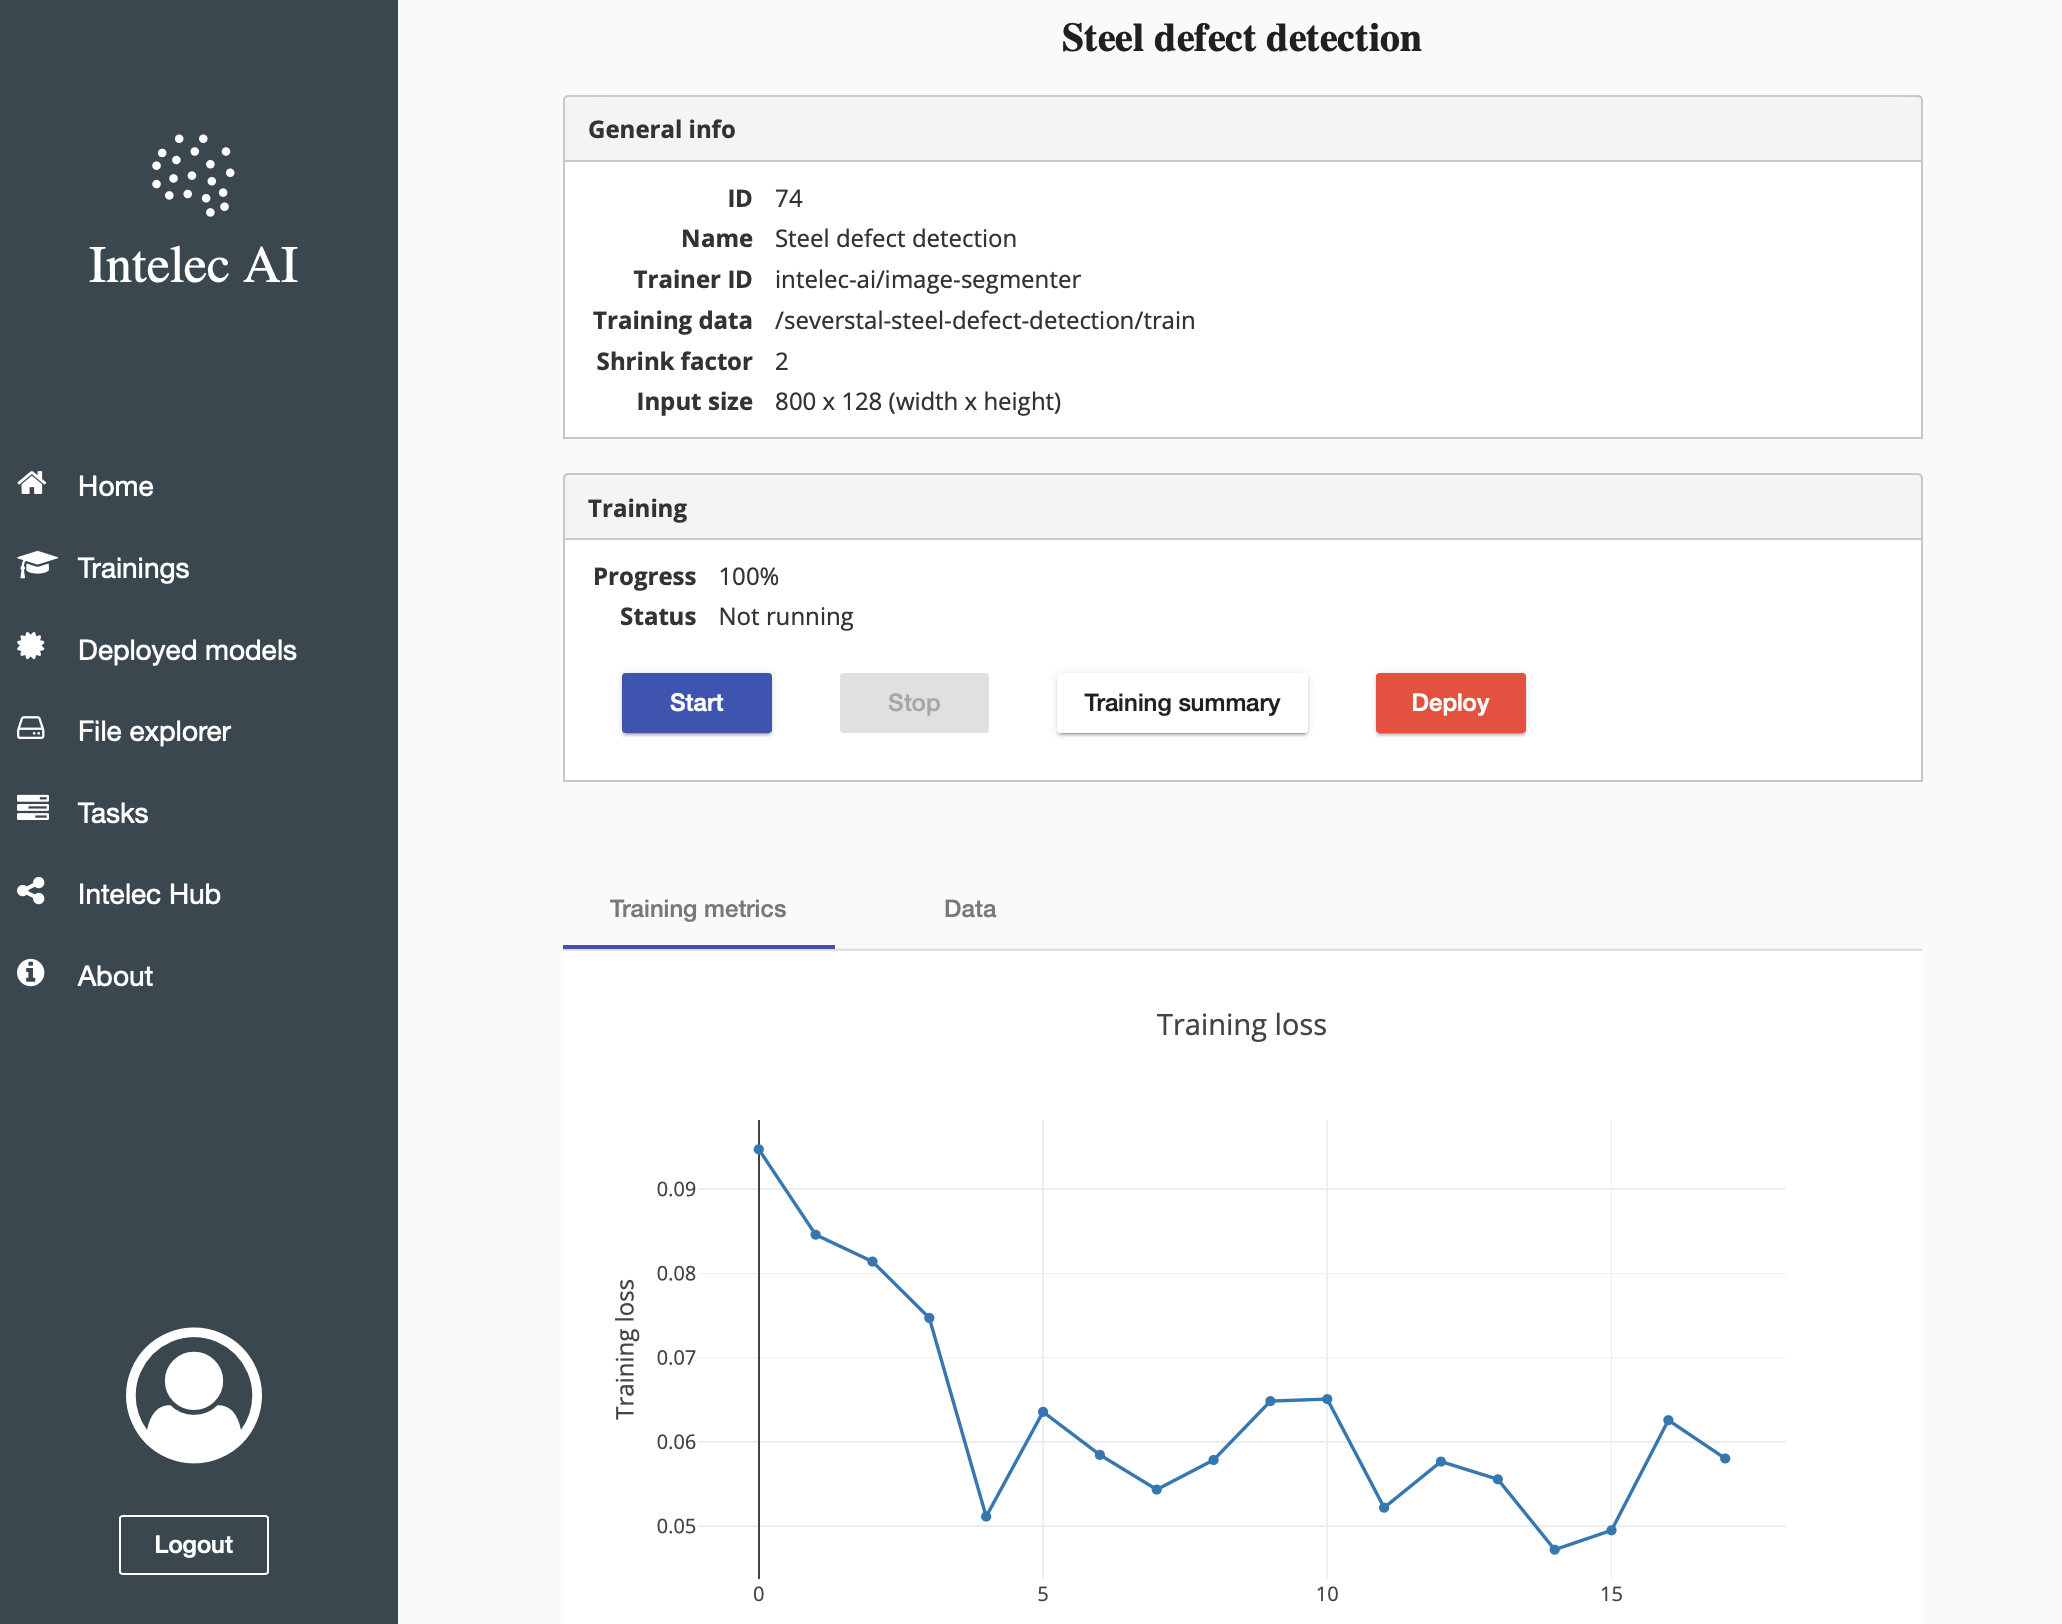
First, you will need to upload your annotations to the platform, then create a training and start it.

After the training finishes, you can check the training summary and see whether the model accuracy is high enough for your use case. If it’s, you can go ahead and deploy it by clicking on the Deploy button. Voilà, now your model is ready to detect some defects :)
Validating the deployed model
If your field is regulated (for example, drug or medical instrument development) and your model impacts the quality of your final product (for example, if the model finds and filters out defect units), you will need to validate your trained model. It requires a lengthy process of collecting required documents about how you trained the model, what is your fail safe strategy, how regularly you’ll check the model accuracy in the production and improve it if necessary.
We’re doing defect detection in steel manufacturing in this demo. I guess steel manufacturing is not a highly regulated field, hence lengthy validation process will not be required in our case.
Process control dashboard
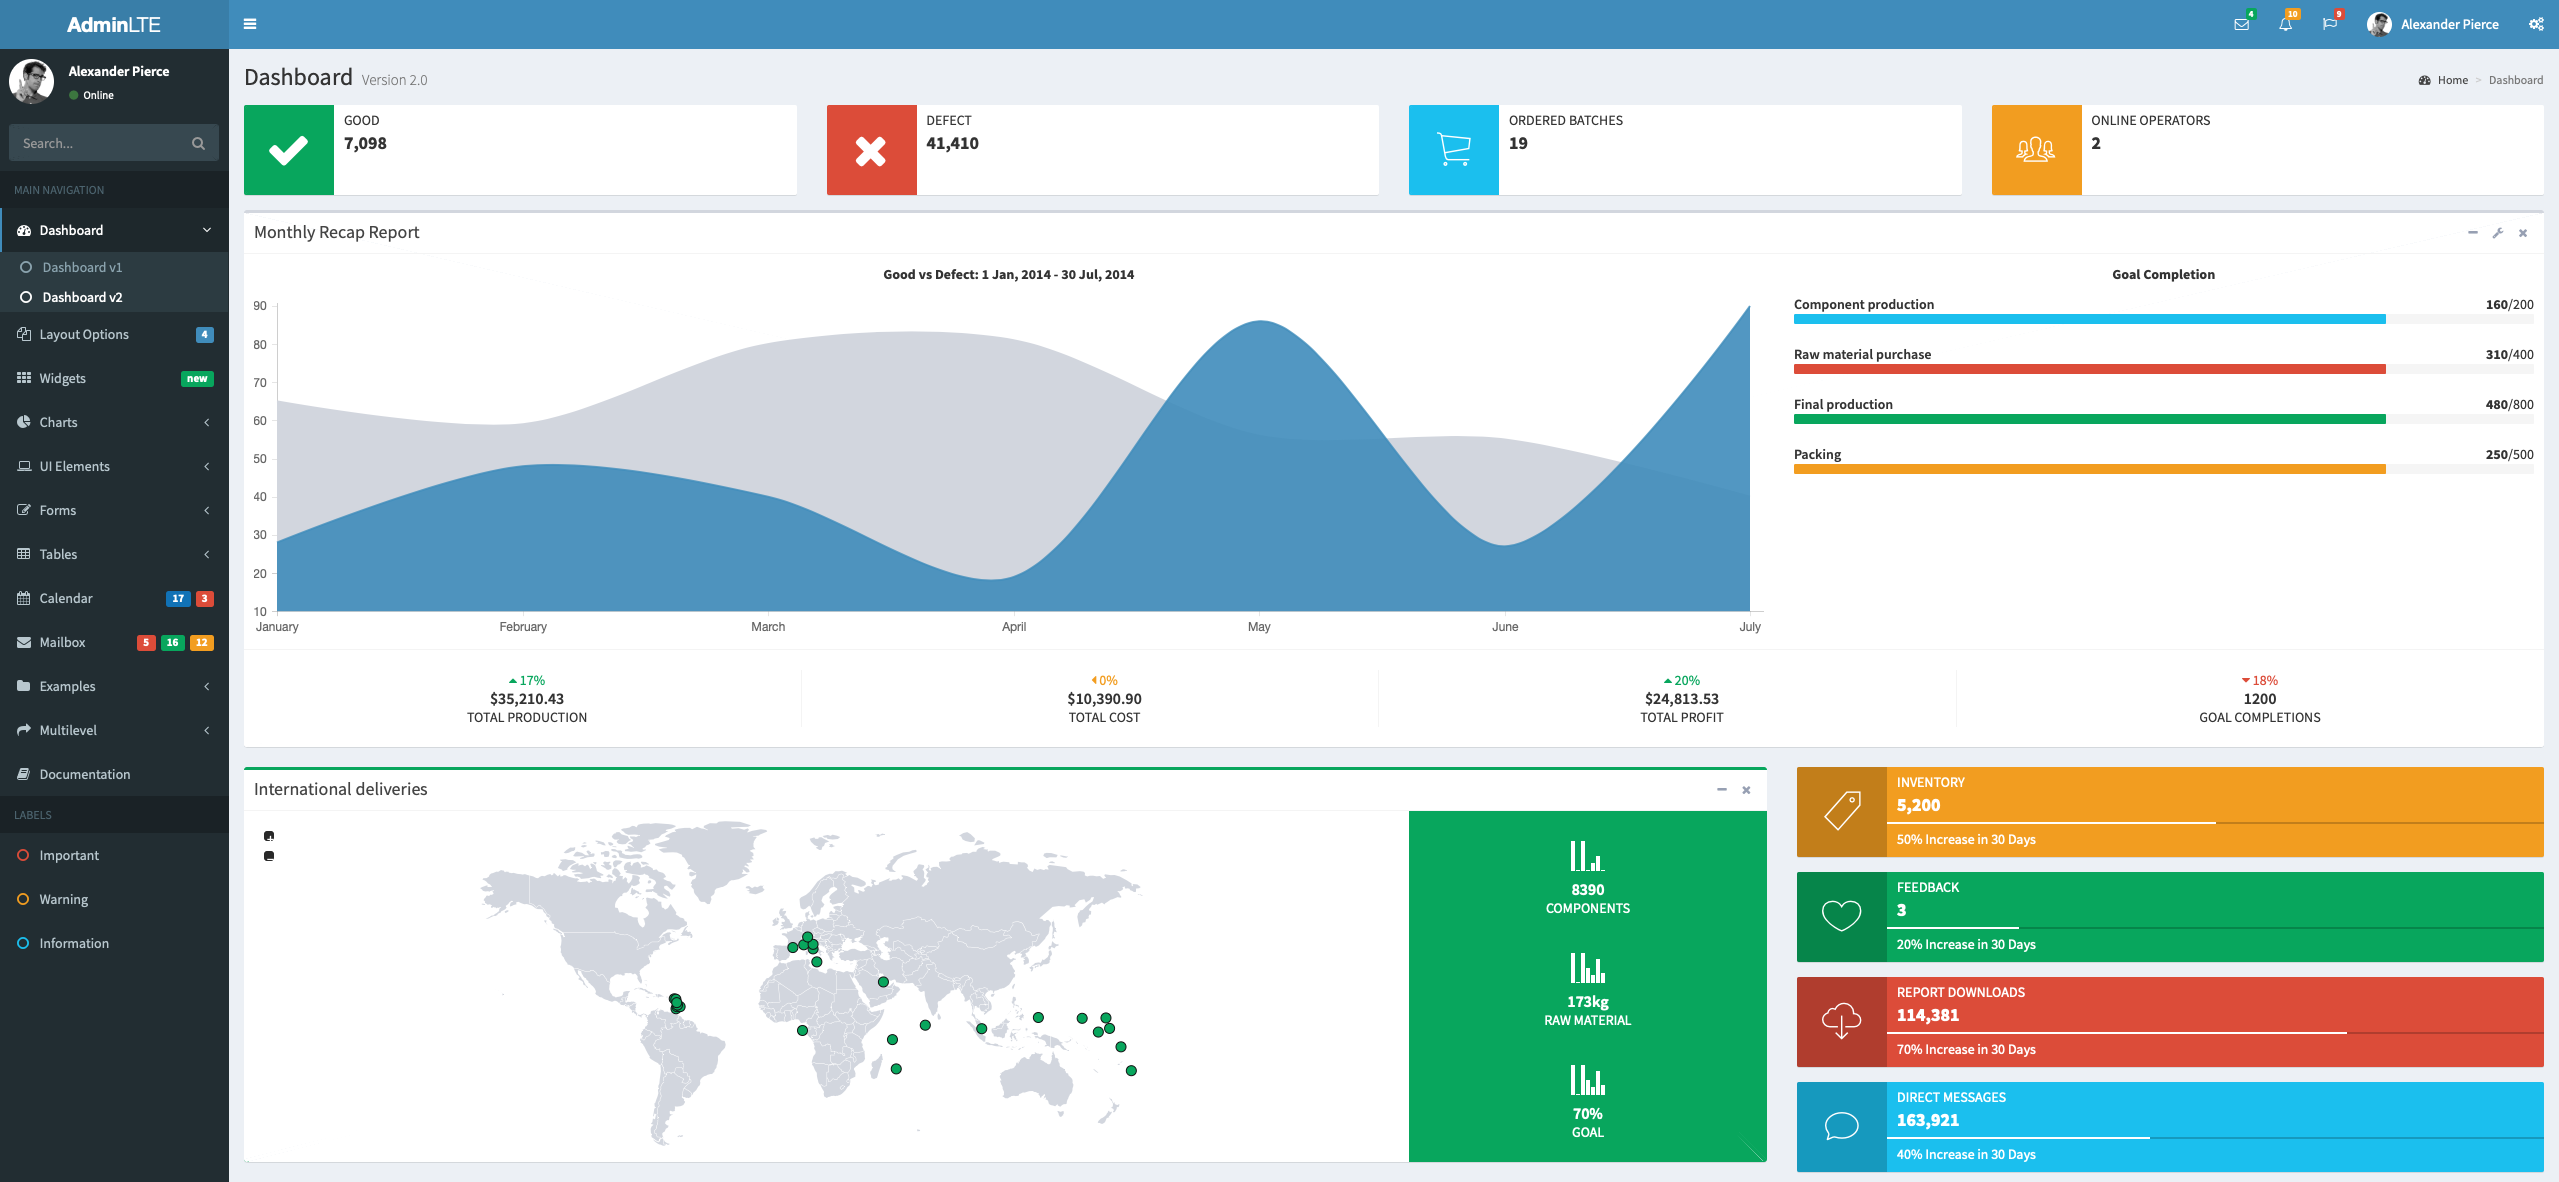
The last step in the defect detection pipeline is creating a dashboard for the process control team to keep track of the defect products. The dashboard needs to include
- number of defects in each defect category
- number of defects by time
- what raw materials were used in the defect products
- etc

That’s it. I hope you found it helpful. If you need to build an automated defect detection system at your workplace and but are stuck at some step, you can shoot me an email at hg@intelec.ai, I will try to help you.
